
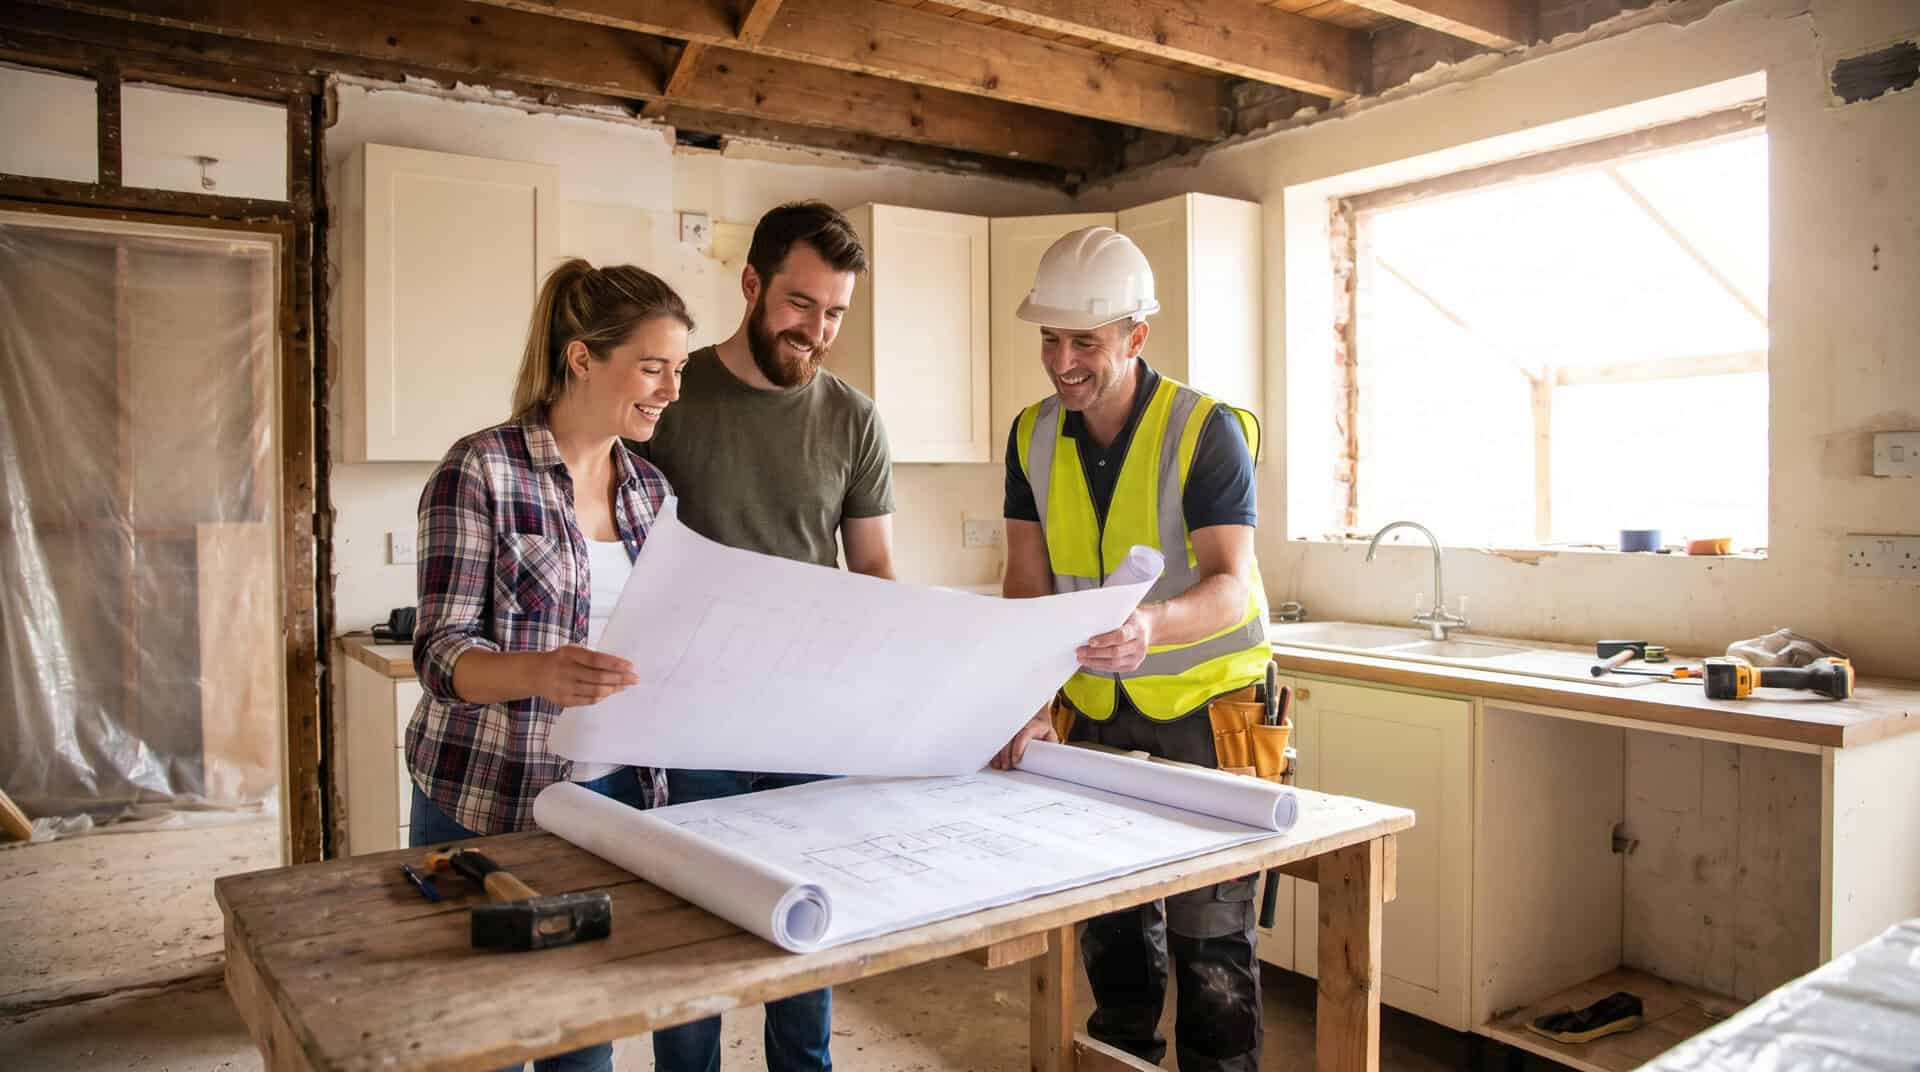
A new kitchen plan starts with ideas about cabinets, worktops, appliances and the room’s appearance. Accurate dimensions and fixed features turn those ideas into a workable layout.
Preliminary measurements help homeowners discuss layouts, identify limitations and show a designer what works and what needs attention.
You do not need to produce a professional technical drawing. A clear sketch supported by accurate measurements is a practical first step when preparing for a new kitchen. Exploring different kitchen ideas can help you decide what you want the space to achieve, while measurements provide the practical starting point.
What You Need Before Measuring Your Kitchen
Start with a few basic tools and somewhere to record the measurements. A reliable tape measure, pencil, notepad and calculator will be sufficient for most preliminary checks.
Before beginning, clear enough space to reach the walls and fixed features you need to measure. Move lightweight furniture and freestanding appliances where practical, but do not disconnect services or attempt to move heavy equipment simply to gain access.
Use millimetres throughout. This is the standard unit used for detailed kitchen planning and avoids confusion when dimensions are transferred into a design.
It is also helpful to label the walls consistently. You might call the wall containing the main entrance Wall A, then work clockwise around the room.
If you are preparing for a design consultation, photographs of the room can be useful alongside the measurements. They help show details that may not be obvious from a numerical plan, such as the position of a radiator or the shape of an awkward corner. IKEA’s kitchen measuring service also outlines the room details and fixed features that are useful to record.
How to Measure the Length and Width of a Kitchen
Begin with the overall dimensions of the room. Measure each wall from one finished corner to the other, recording the distance in millimetres.
Where possible, take measurements at more than one height. Walls can lean slightly, corners may not be square and older properties can have variations that are difficult to notice by eye.
Ceiling height should also be recorded. Measure from the finished floor to the ceiling at several points, particularly if the room has an uneven ceiling, a slope or a history of alterations.
It is worth checking whether the walls appear straight and whether the corners are close to right angles. A room that looks rectangular may have a slight taper, which can affect how cabinets fit against the walls and how worktops meet at corners.
If the floor is not level, note any visible differences rather than assuming the same height throughout. A professional survey can establish the details needed for the final design and installation.
How to Measure Windows, Doors and Openings
Windows and doors can influence where cabinets, appliances and worktops can be positioned. Their dimensions are important, but their location within the room is just as relevant.
For each window, record its overall width and height, along with the distance from the nearest wall corner to the window frame. Measure the height from the finished floor to the bottom of the sill.
A window that opens inwards also needs enough clearance to operate without hitting a tap, worktop or other fitting. Record the direction in which it opens and whether the handle or frame projects into the room.
For doors, measure the opening width and height, including the frame where relevant. Record the distance from the nearest corner to the opening and note which way the door swings.
Also record the position and dimensions of any internal openings, archways or doorways leading into adjoining rooms. These can influence how people move through the kitchen and how large items are brought into the property.
Recording Existing Plumbing, Gas and Electrical Points
The position of existing services should be included in your kitchen measurements because they can influence the layout and the amount of work required to change it.
For water supplies and waste pipes, record their locations in relation to the nearest wall and floor. Note whether they serve the sink, dishwasher, washing machine or another appliance.
Electrical sockets and switches should also be marked on the plan. Record their height from the floor and distance from the nearest wall corner.
If the room has a gas connection, record its visible position without attempting to alter or disconnect it. Any changes to gas installations should be assessed and carried out by an appropriately qualified professional.
These notes do not determine the final positions of services. The new design may require changes, and a qualified electrician, plumber or gas engineer will need to assess the work involved.
How to Measure Around Radiators, Pipes and Other Obstacles
Not every kitchen has uninterrupted walls and square corners. Radiators, boiler housings, pipe boxing, columns, chimney breasts and structural supports can all affect the available space.
For each obstacle, record its width, height and depth, as well as its position relative to the nearest wall or corner. A radiator, for example, may occupy only a small section of wall but still affect where a cabinet or appliance can be positioned.
Pipes and boxed-in services should be measured from the wall surface to their outermost point. If a feature projects into the room, record how far it extends and whether it continues along the wall or changes direction.
Pay attention to sloping ceilings and low sections of the room. These can affect tall cabinets, wall units and extractor arrangements.
It is also useful to note items that may not be obvious on a simple floor plan. Window boards, deep skirting, sockets, switches and ventilation openings can all affect how cabinets meet the surrounding room.
Creating a Simple Kitchen Floor Plan
Once the measurements have been collected, transfer them onto a clear drawing. It does not need to be an architectural plan, but it should show the overall shape of the room and the position of the main features.
Draw the room as viewed from above, marking each wall and recording its measured length. Add doors and windows, showing their approximate positions and the direction in which doors and opening windows move.
Then mark fixed obstacles such as radiators, columns, chimney breasts and boxed-in pipes. Include the positions of water, waste, gas and electrical connections, using short labels so that the plan remains easy to read.
Separate drawings of individual walls can be useful where there are several windows, sockets or changes in ceiling height. These elevations help show vertical measurements that may not be clear on a top-down plan.
Write dimensions directly beside the relevant features. If you have taken several measurements of the same wall, include them rather than selecting the figure that looks most convenient.
A simple drawing becomes much more useful when it is supported by photographs. Number the photographs or label them by wall so that someone reviewing the plan can understand which part of the room each image shows.
Common Kitchen Measuring Mistakes to Avoid
One of the most common mistakes is measuring only the overall width and length of the room. These figures are useful, but they do not show the position of windows, doors, services or obstacles.
Another mistake is assuming that walls are straight and corners are square. Small variations may become important when cabinets and worktops are fitted close to the surrounding surfaces.
Forgetting floor-to-sill heights can also cause problems. A window may appear to offer enough space for a worktop until the actual height is checked.
Mixing centimetres and millimetres can create confusion when measurements are transferred into design software or product specifications. Choose millimetres and use them consistently throughout.
Finally, avoid treating preliminary measurements as confirmation that cabinets or worktops are ready to order. A homeowner’s sketch is useful for early planning, but it is not a substitute for the detailed checks needed before manufacture. B&Q’s kitchen measuring guide provides another practical reference for recording a room before planning.
When Should a Professional Kitchen Measurement Be Taken?
Professional measurements become important when the design is moving from an initial idea towards a final specification. The room may need to be checked in greater detail before cabinets, worktops and other components are ordered or manufactured.
A survey can verify the overall dimensions, wall positions, corners, floor levels, window openings and service locations. It can also identify details that may not have been obvious during the first measuring exercise, such as uneven walls or restrictions around appliances.
This is particularly important where the kitchen has unusual angles, sloping ceilings, structural features or a complicated layout. A small difference in a preliminary measurement may not matter during early discussions, but accuracy becomes essential when components are being made to fit a specific space.
The timing of the professional measurement depends on the project and the condition of the room. If building work is planned, the surveyor may need to wait until the relevant changes have been completed.
Kings Park Kitchens encourages homeowners to bring photographs, rough measurements and examples of kitchens they like to an initial consultation. These details provide a useful starting point for discussing the room and the layout.
If you are beginning to plan a new kitchen, the kitchen design service provides an opportunity to discuss the space, storage requirements and preferred finishes. You can also read about what happens during a design consultation.